Tutorial: How to add the Context Link ChatGPT app
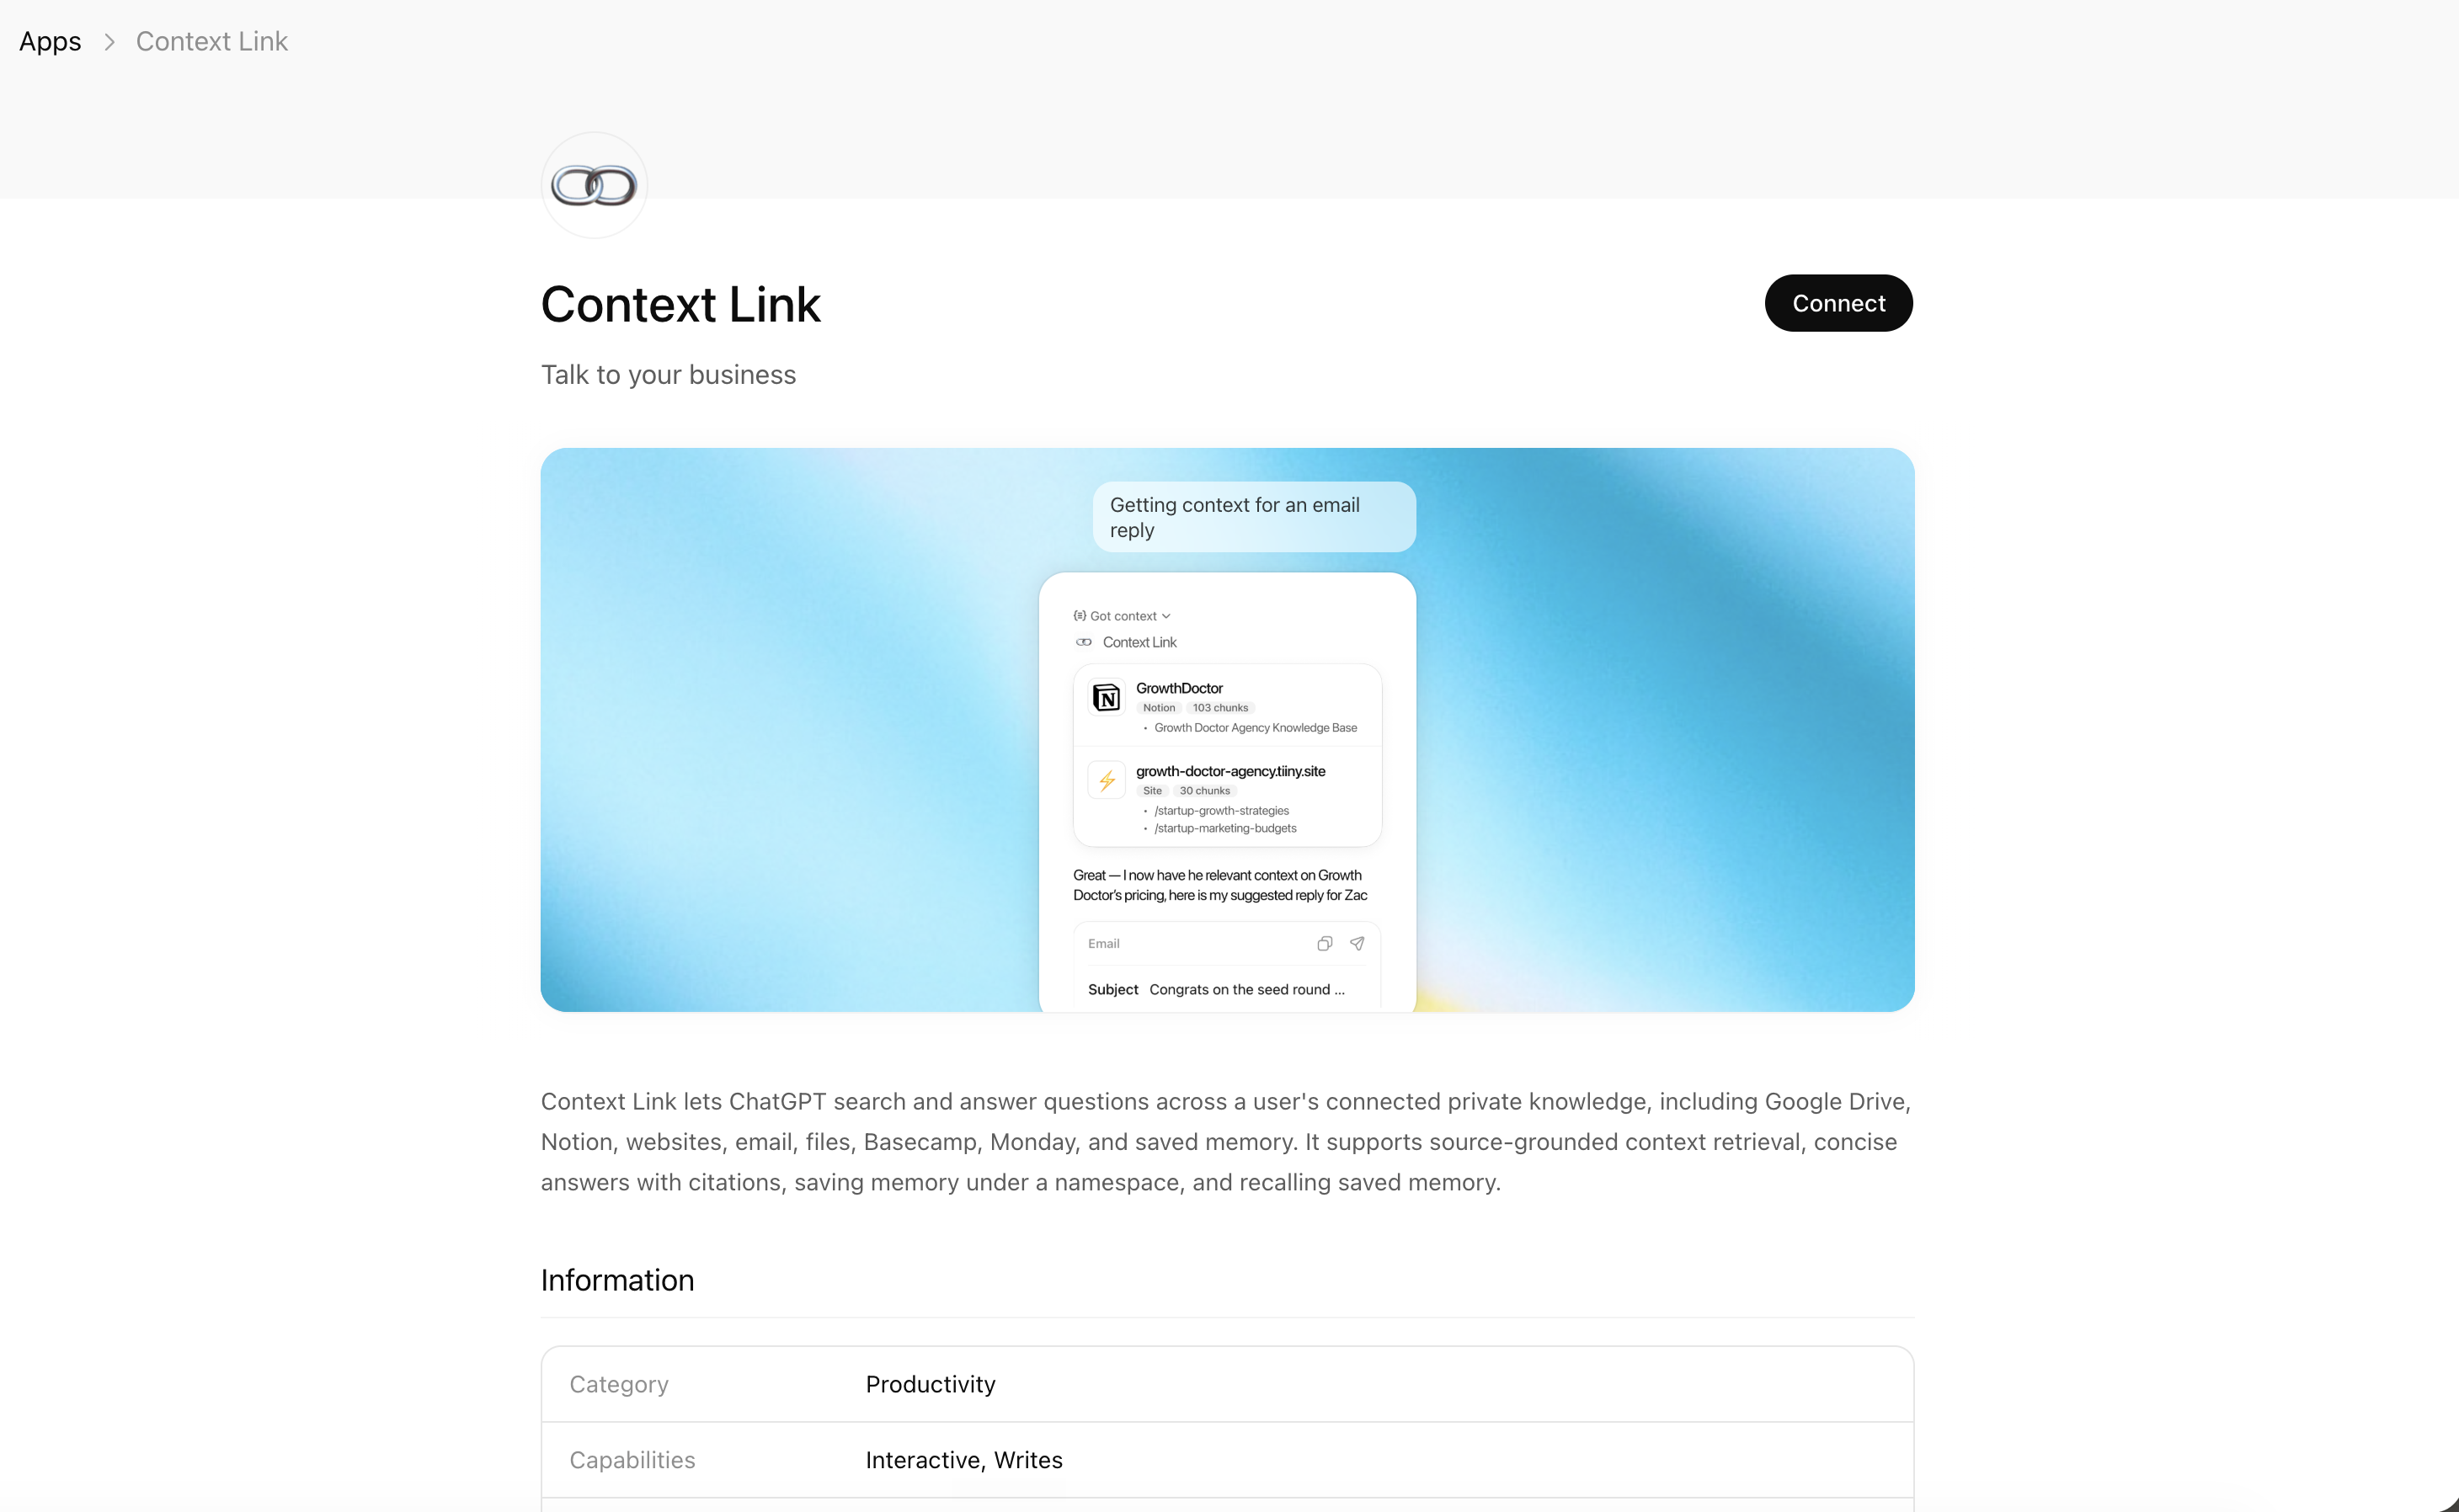
This guide explains how to set up the Context Link app within ChatGPT. Context Link gives AI one place to talk to your whole business: connect your sources (Notion, Google Docs, websites, email, files, project tools) once, then ask source-backed questions from inside ChatGPT, with citations back to the original docs.
Context Link is an official ChatGPT app, so setup takes just a couple of clicks.
Prefer a video? Click here to see Oli setting up the Context Link ChatGPT app.
Prerequisites
- A Context Link account set up with connections (e.g., Notion, Google Docs).
- A ChatGPT account.
Step 1: Add the Context Link app
- Open the Context Link app in the ChatGPT app store.
- Click Connect.
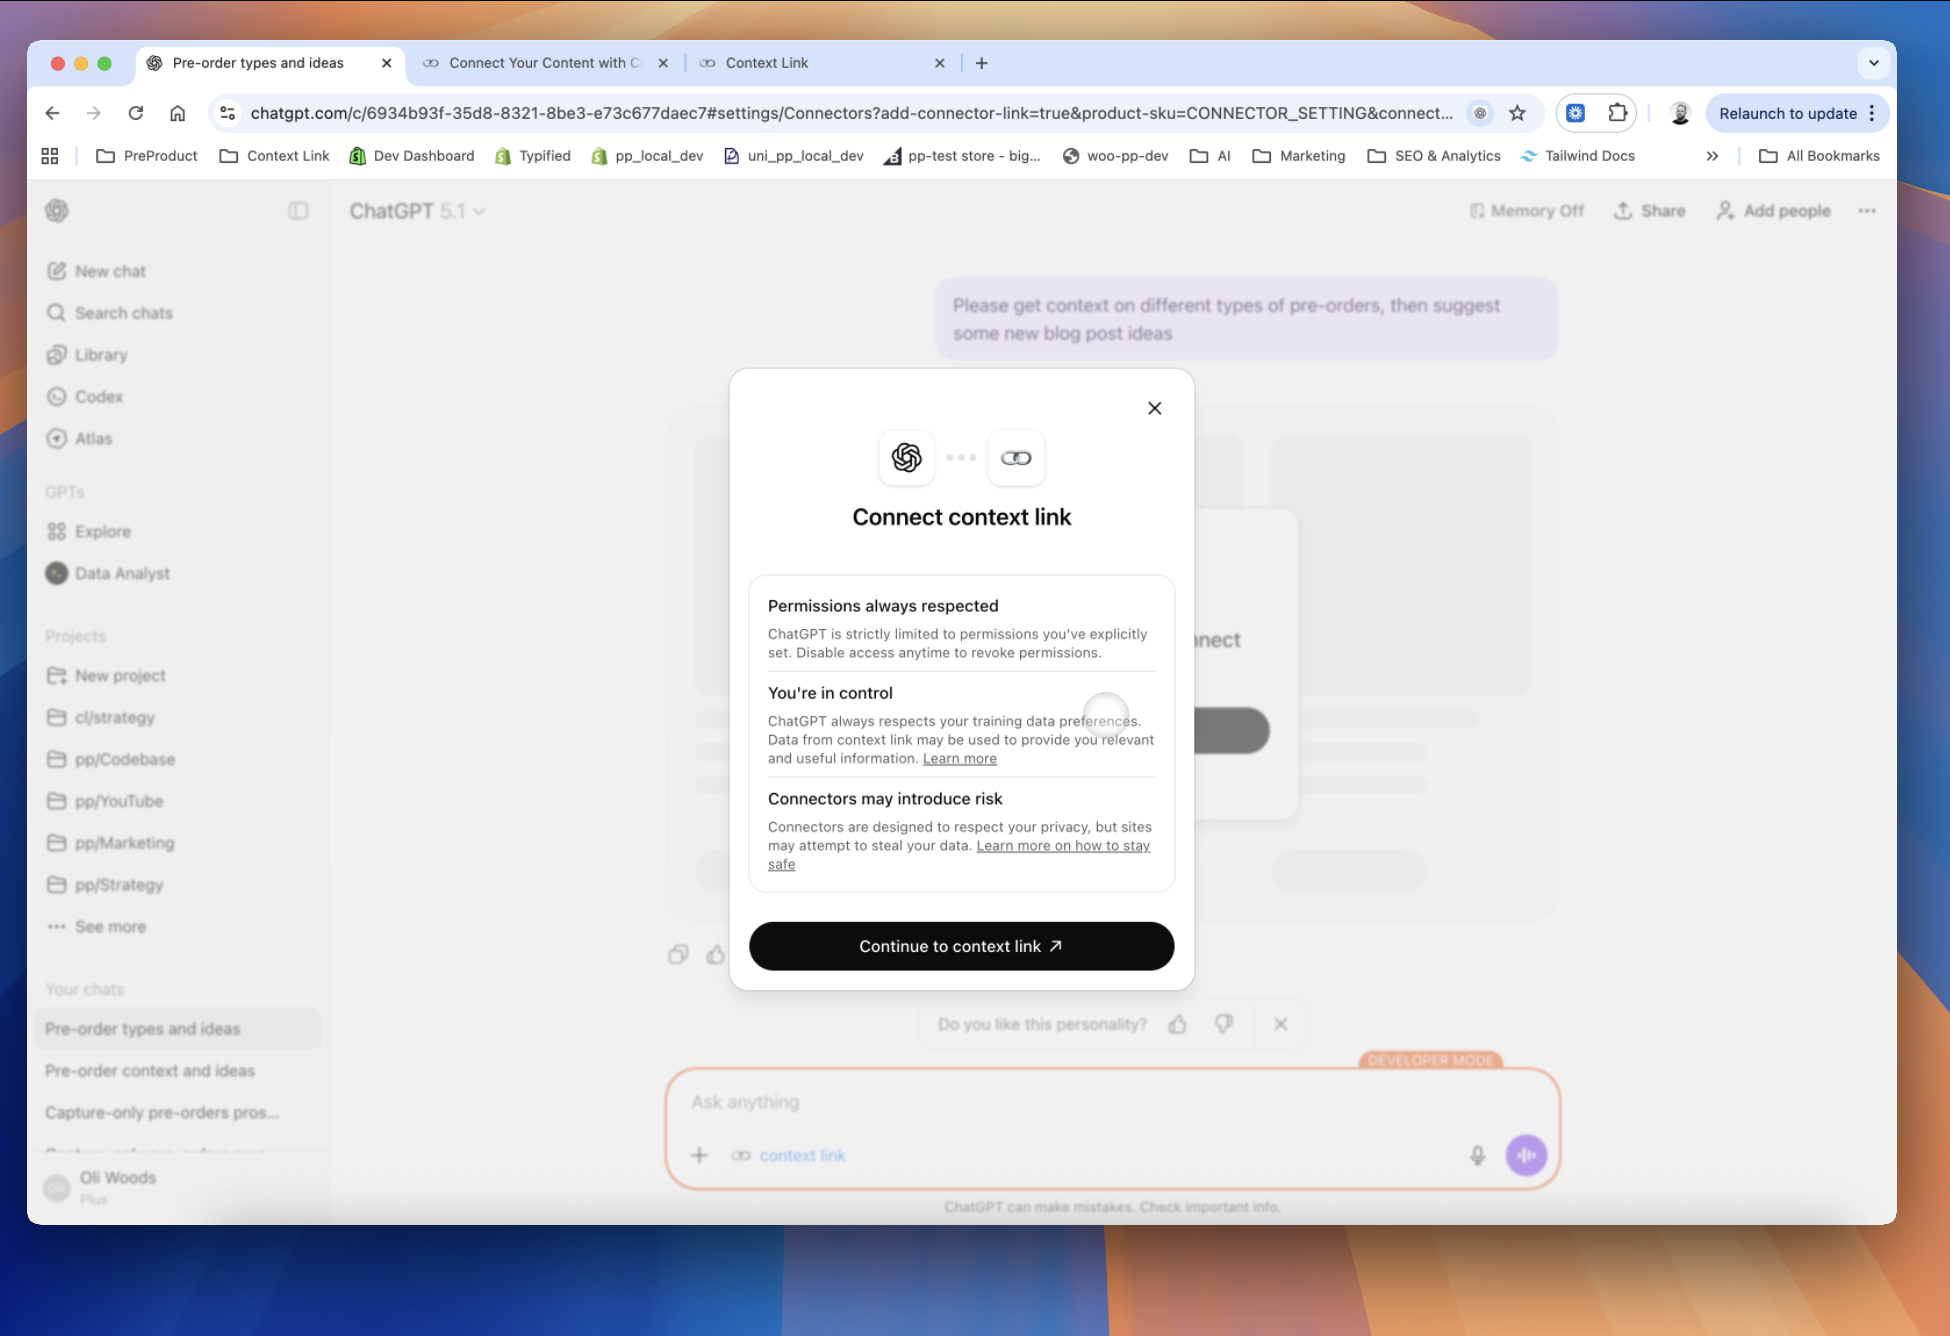
Step 2: Connect your Context Link account
When prompted, ChatGPT sends you to the Context Link sign-in screen to securely link your account.
- Enter your email to receive a magic link.
- Click Accept to authorize the connection.
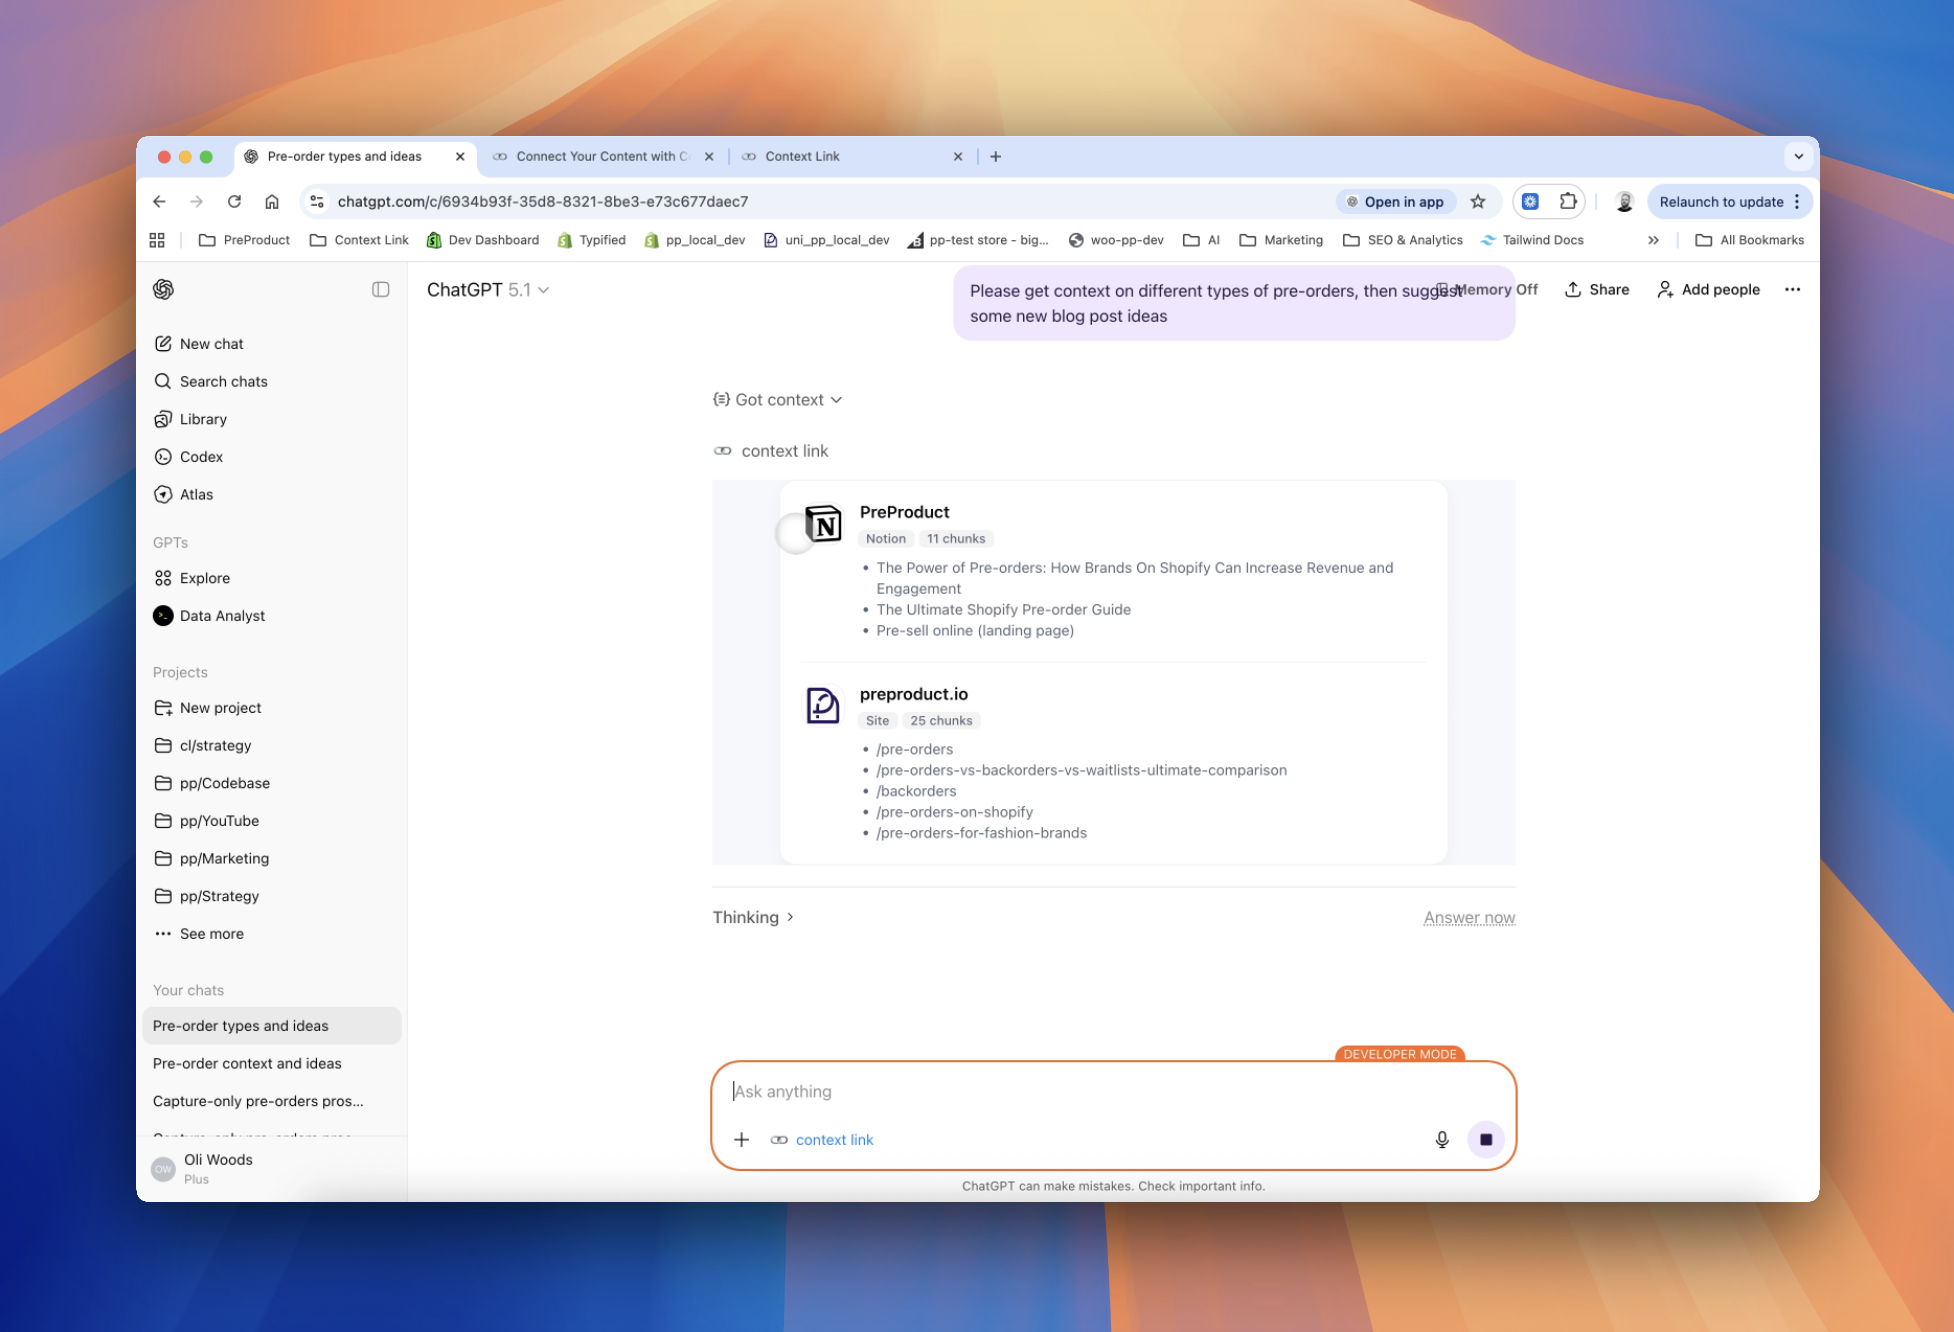
Step 3: Use the Context Link app
Once connected, you can ask ChatGPT to “get context on XYZ,” and it will search your connected sources and return the most relevant snippets. ChatGPT then uses that private context to answer your questions more accurately. Or for a direct answer, ask Context Link a question outright — "ask Context Link: which sources are connected to my account?" — and get back one short paragraph with numbered citations (the Ask Question skill is a Pro feature and counts toward your monthly LLM allowance). You can also ask ChatGPT to save useful knowledge back to Context Link as a Memory, so the latest version is there for every future conversation.